
This took a while but was worth it. I've seen slightly different versions that are much quicker, but I like to make things difficult for myself. Instead of a solid block of chocolate I decide I wanted a solid chocolate 'shell' with a truffle centre. Now, none of this was particularly difficult. It was all just very fiddly and time consuming. I think it was definitely worth it, but be prepared to spend some time on this.
I started with the humble egg.

Most of the pictures I'd seen had massive holes or cracks in the egg to get the chocolate in, I didn't want this so decided I would give egg blowing a try. It worked pretty well by all accounts. A pin prick sized hole at one end and a slightly larger hole at the other end.


The thought of getting raw egg in my mouth lead me to seek out alternative methods off separating egg from shell. They didn't work. Somebody had told me about a way o separating yolk and white with a bottle and I wondered if this would work with getting the egg out. It started to draw some out but the bottle collapsed long before the first egg was done.

So it was back to the drawing board. I simply used a knife with a very sharp point and just kept tapping gently in the same spot until the right sized hole was made.


I wasn't always as gentle as I should have been and a few of these did crack. I kept them though as I figured you do occasionally get a few cracked sweets in a pack.

Once all holes are made you simply need to blow through the smaller hole. If this proves tricky you can either make the larger, bottom hole larger or simply make sure its clear. There is a layer of membrane inside the egg and this is stronger than it looks. It can and does stop anything from getting through regardless of how hard you blow. I did 20 eggs so I had a lot of egg going spare. I used this up making brioche though which I'll show in a later post.


I then drained them again and placed on paper towel and in egg cups to dry. I repeated these steps for each colour used.


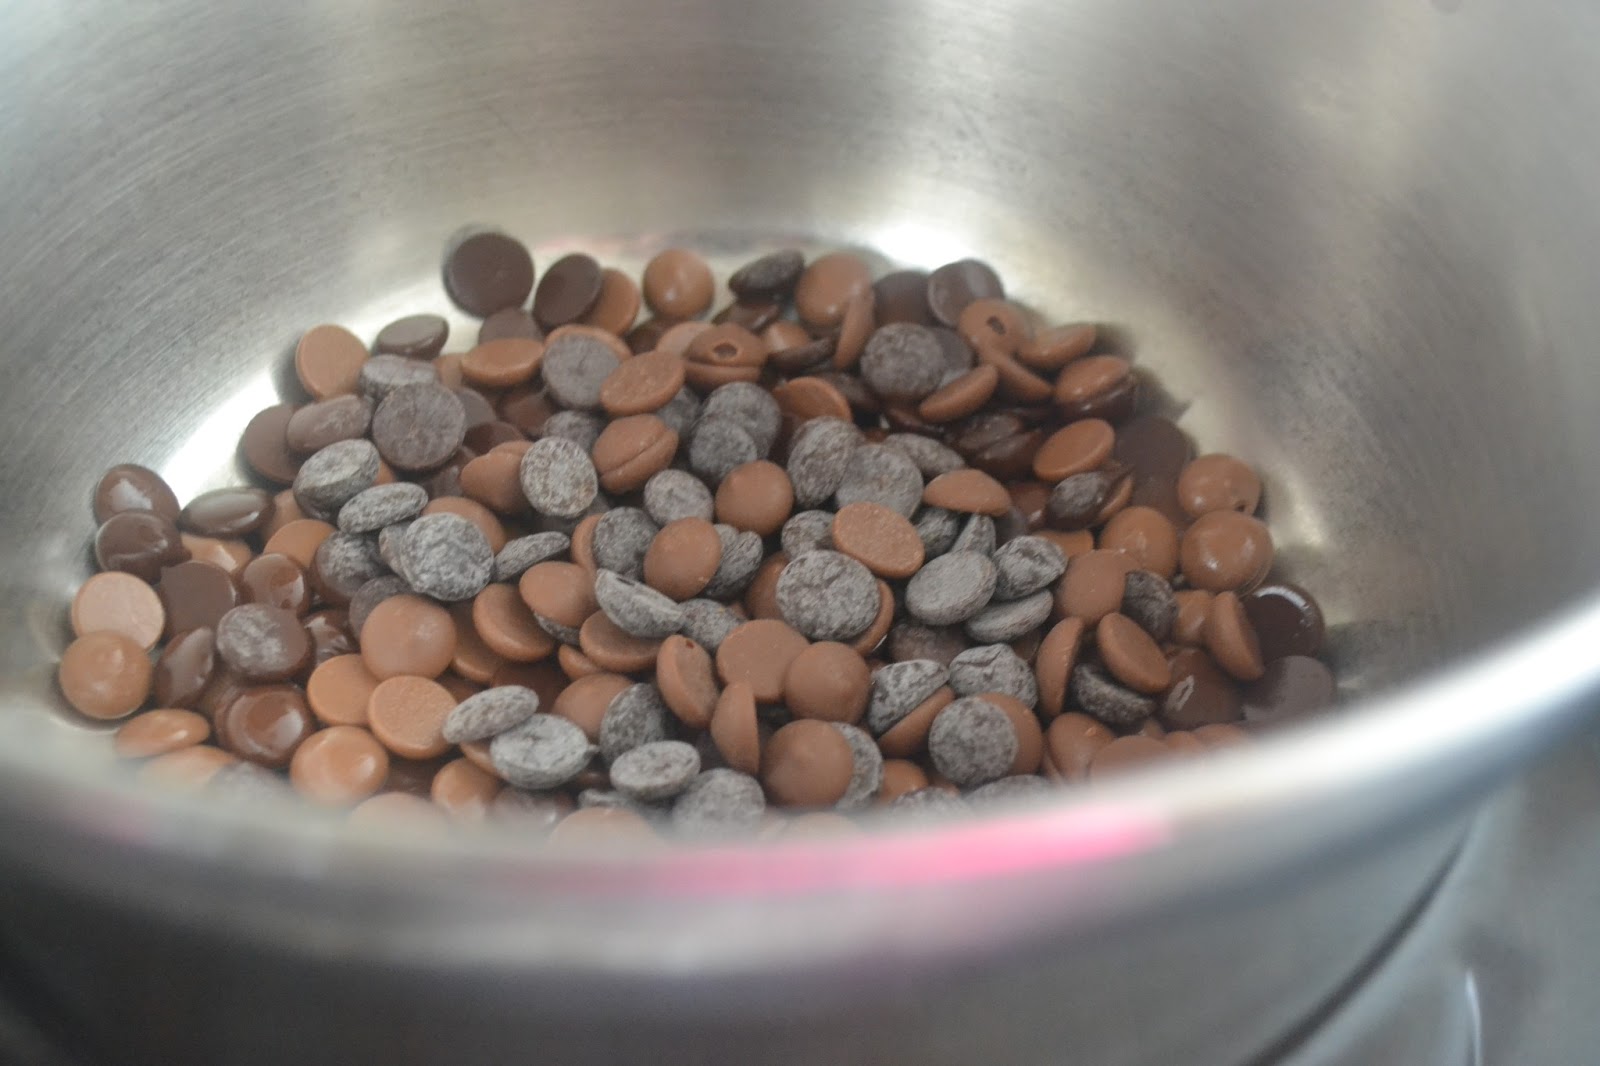
I left these to dry overnight to make sure there was no loose colour that would stain the chocolate. Once dry I started to melt my chocolate for the shell and then filled the eggs using a syringe. This was the pretty easy but very time consuming!


I did this twice on each egg and then placed them in the fridge over night to set. The next morning I removed them and repeated the process, again shaking the egg to try and make sure all the surface was covered. On the first night I stored them with the small hole facing down and the second time the large hole was facing down to try and ensure even coverage.
While the second coat was setting (around half an hour) I started making the truffle. For the white chocolate I started by making a caramel. This was just sugar and, a small amount of water and, once it had dissolved, vanilla and cream. I placed it in an old empty container then made the rest of the truffle mix.


Since I had placed the eggs with the larger hole down it was blocked so I used a heated pin to clear the hole then filled them with truffle (which I had placed in the fridge to cool down and firm up slightly. This was done randomly instead of in layers. The eggs were then placed in the fridge overnight to set.

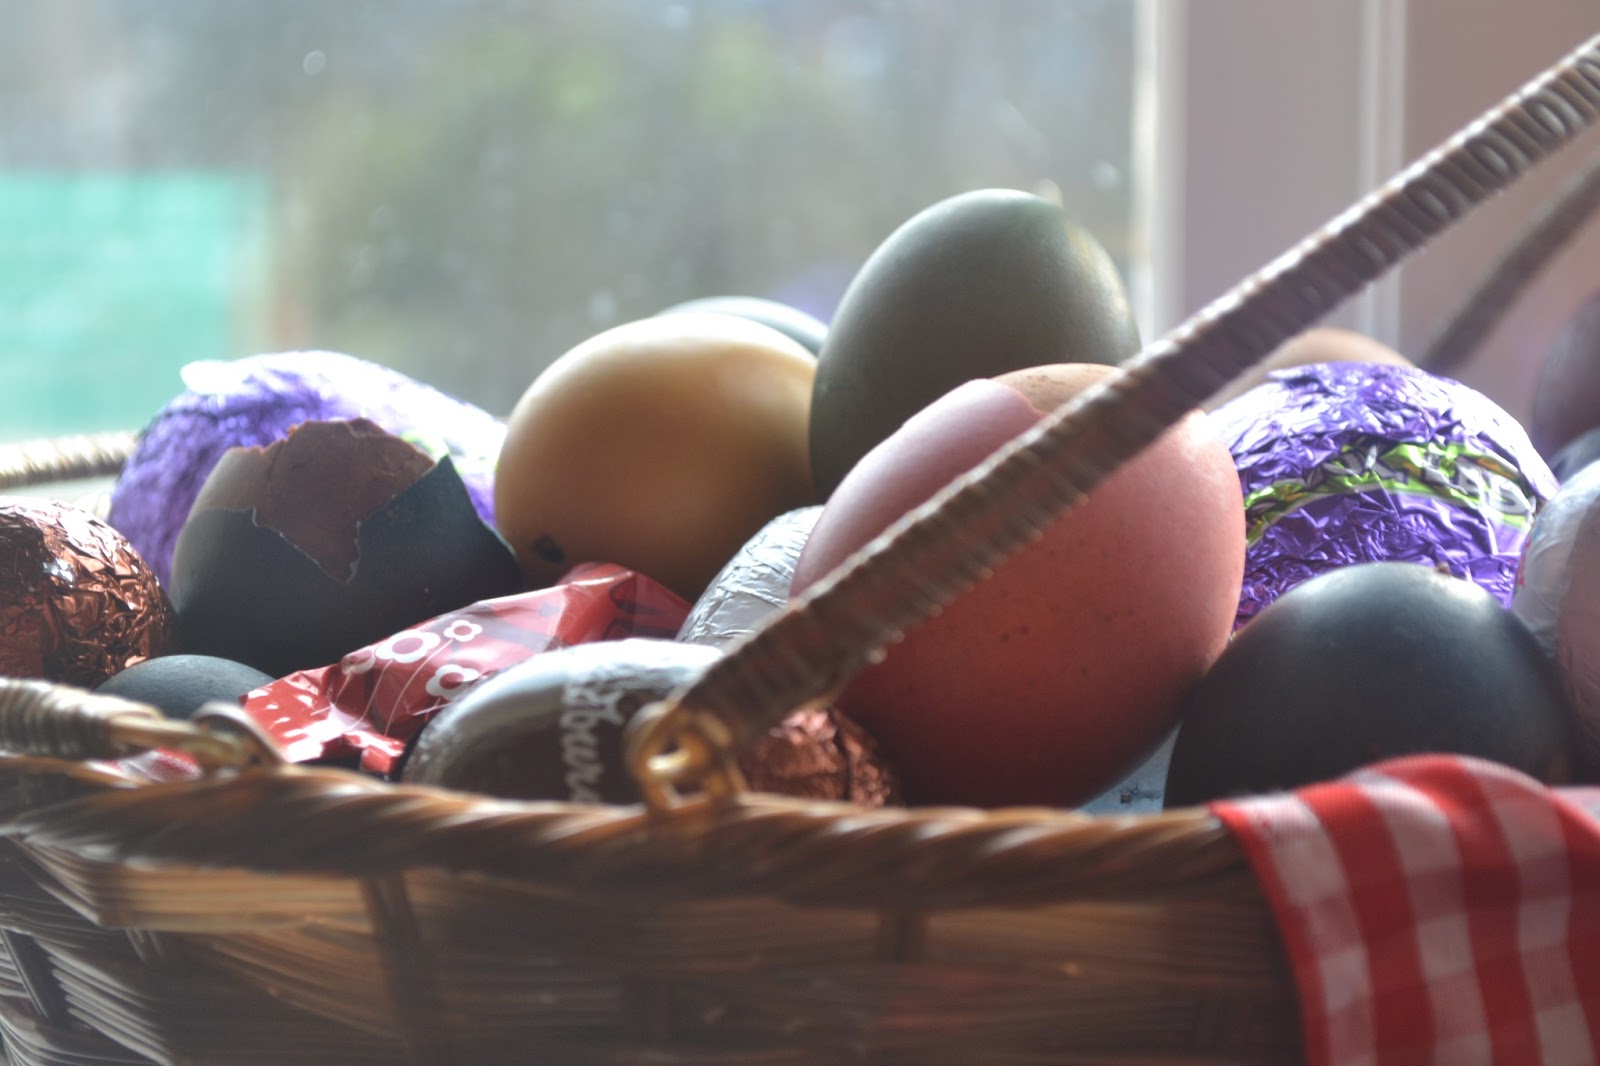
I think they came out pretty great and, with a bit more organisation next year, I could probably get this all done in one day. I think they look amazing and, even better still, they taste amazing. The outer 'shell' of chocolate has a nice bite to it and contrasts well with the truffle in the middle. I may make it slightly thicker next time though. Other than that, amazing! The sort of thing you'd definitely want to hide from predators...


0 comments: